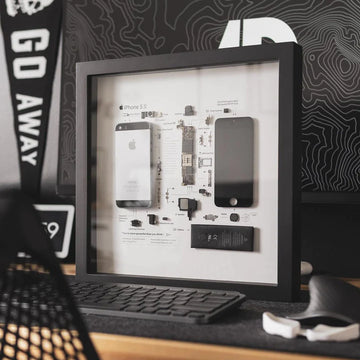
You may be thinking about what to do with your old iPhone, especially the original iPhone. Have you ever thought about turning your old iPhone into a framed artwork?
For iPhone lovers, the original first-generation iPhone is a remarkable memory. And a tech frame with deconstructed first-generation iPhone is a perfect wall decoration. Not only that, but the original first-generation iPhone tear-down frame is also a great gift for anybody who loves tech products. Then how to make this teardown frame? First, you need to tear down an iPhone. (make sure that you don't use it anymore)
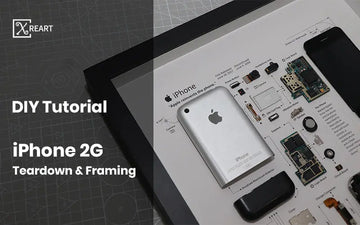
Here's our tutorial on how to tear down the original iPhone. If you need any digital templates, frames, tools, please check out our online shop: Xreart DIY.
The iPhone is 4.5x2.4x0.5", and weighs 4.8 ounces (0.3 pounds).
The display is 3.5" diagonal, 480x320 resolution.
The iPhone supports four major different wireless protocols.
The List: Quad-band GSM (850, 900, 1800, 1900 MHz), 802.11b/g WiFi, EDGE, and Bluetooth 2.0 + EDR.
The iPhone has H.264 video decoding, most likely in hardware.
It also has a two-megapixel camera.
Step1

Front of the iPhone.
Step2

iPhone's back.
The SIM card is removable. Push a paperclip into the hole on top, and the card will come out (you may have to apply more force than you'd expect).
Step3

We removed the black antenna plate first.
You can see the grounding screw on the back panel holding the antenna cable and connecting the front and back case.
Step4

Separating the front and back case.
There's a headphone jack cable to disconnect before you can completely remove the back panel.
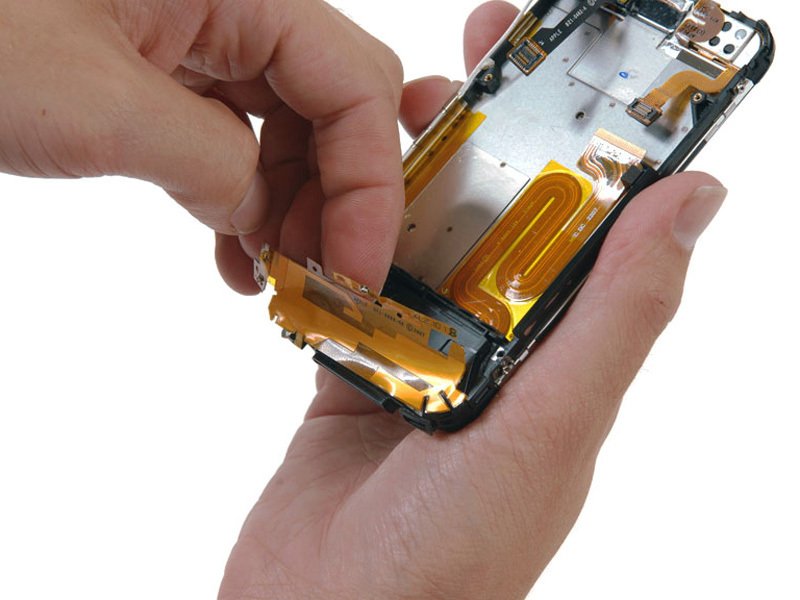
Step5

The battery is huge, and soldered to the logic board.
You can see the SIM card bracket and headphone jack on the rear panel.
Step6

It is a 3.7 volt Li-Ion Polymer battery.
You can see at least two antenna cables connecting to the logic board.
Step7

Disconnecting the two antenna cables.
Step8

Removing three Phillips #00 screws securing the logic board to the front panel. The screws are:
Where the screwdriver is.
Underneath the black camera in the upper right hand corner.
To the left of the battery wires that are soldered to the logic board.
Step9

Removing the camera on the top of the phone.
Sadly, there aren't any software settings—it's just point and click.
Step10

Removing ten Phillips #00 screws around the perimeter of the iPhone.
Step11

The battery has Apple model number 616-0290 L1S1376APPC.
Step12

Lifting up the logic board. There are three connectors underneath. They are speaker, touch sensor, and display cables.
Disconnect the two connectors on the left side of the image.
Step13

Disconnect the remaining connector.
Step14

Flip up the retaining bar to free the dock connector cable.
Step15

Close-up shot of the logic board. The logic board is two layers thick, so it's difficult to see components.
Step16

View of the iPhone with the logic board and battery removed.
Step17

Disconnect the antenna cable to the left of the dock connector.
Step18
Peel up the antenna ribbon sheet from the large black plastic piece.
The antenna encompasses this entire region.
Step19

Remove the hollow black plastic piece that was covered by the antenna.
There is some empty space within it — the only open internal space.
Step20
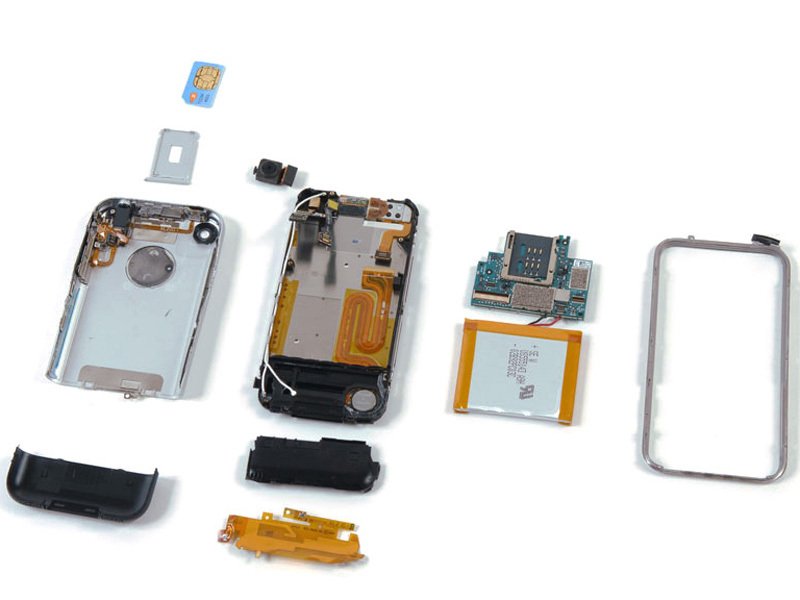
The iPhone is completely apart!
The phone had about 16 screws total.
Now you're almost finished the teardown process, what you need do is to paste the above components on the iPhone layout paper. If you are using B6000 glue, you need to place it horizontally for 2-24 hours before framing the disassembled phone.
Download iPhone 1st Generation teardown parts diagram paper template: https://xreart.com/collections/templates-digital-download-file/products/iphone-teardown-layout-template-pdf-format
DIY Series:https://xreart.com/collections/diy-tools