XreArt Studio
Cart 0
  • Home
  • Best Seller
  • Apple
  • Game Console
  • Templates
  • DIY Series
  • All products
  • Blog
  • Support
    • Contact Us
    • FAQs
    • Shipping Policy
    • Refund Policy
  • About us
My Account
Log in Register
AUD
EUR
GBP
SGD
THB
USD
XreArt Studio
  • Home
  • Shop All
    • Phones
    • Game Console
    • Smart Watch
    • DIY Series
    • Digital Templates
    • Walnut Desk Organization & Accessories
  • Best Seller
  • Sale
  • About Us
  • Blog
  • Support
    • FAQs
    • How to teardown
    • Shipping Policy
    • Returns and Refund Policy
    • Contact Us
AUD
EUR
GBP
SGD
THB
USD
Account Wishlist Cart 0

Search our store

XreArt Studio
Account Wishlist Cart 0
Blog

Have a useless iPhone3G? Turn it into a framed artwork

by xreart sales on Mar 21, 2022
Have a useless iPhone3G? Turn it into a framed artwork XreArt Studio

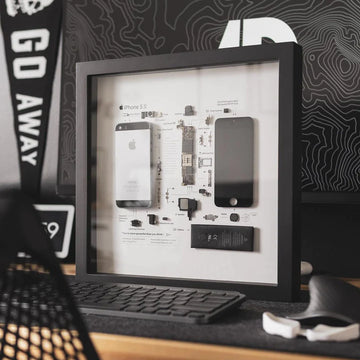
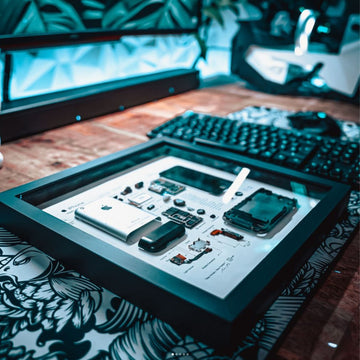
Do you have an old iPhone 3G that is useless but reluctant to throw away? What to do with your iPhone 3G? How about turning it into a framed artwork? You can hang it on the wall, and it will become your exclusive memory.
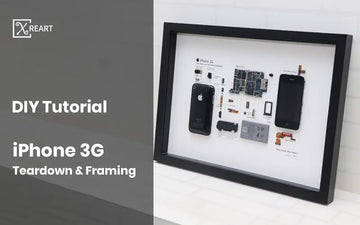
If you have any interest, here's our tutorial of how to tear down the iPhone 3G.

The iPhone 3G is 4.5x2.4x0.48" (0.02" thicker than the original iPhone), and weighs 4.7 ounces (0.1 ounce less).
With its new rounded back, the new iPhone feels smaller.
The display is 3.5" diagonal, 480x320 resolution for 163ppi.


Step1


Removing the SIM card.
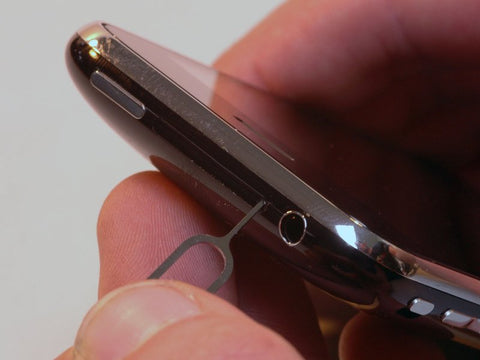
Step2


Removing the display!
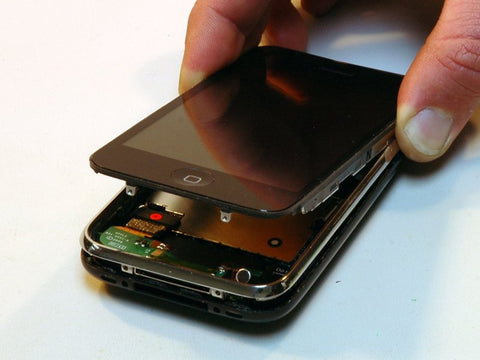
Step3


Rotating the display up.
The camera is located in the upper right corner of the phone. Unfortunately, it connects to the bottom of the logic board, meaning you'll likely need to remove the logic board from the phone to remove the camera.

Step4


The display assembly separated from the unit.
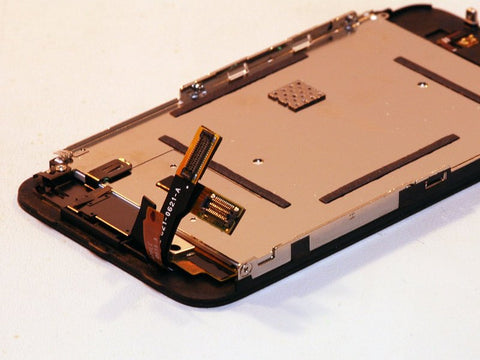
Step5


We had to remove 6 Phillips #00 screws to separate the glass from the LCD.
The glass (with integrated touch sensors and chips) is underneath, while the LCD is being removed.
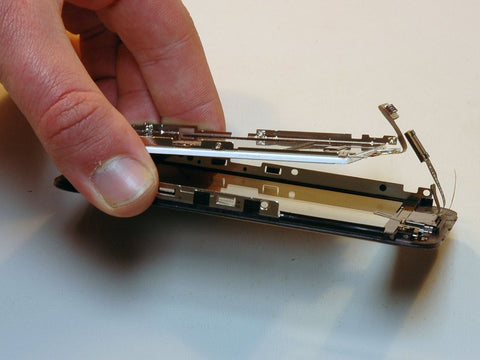
Step6


Can you see the 3G bits inside?
The two boards (logic and communications) are now one. They laid it out along the entire length.
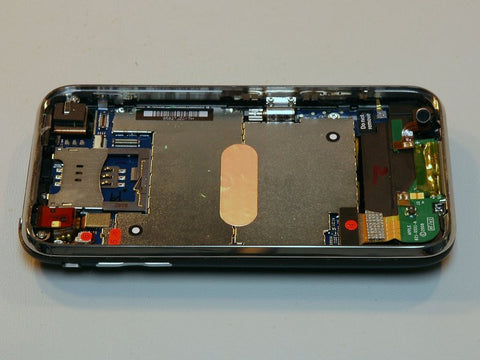
Step7


Let's try removing that.
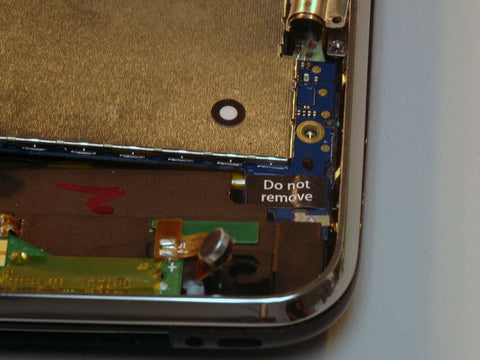
Step8


Look, the battery isn't soldered on!
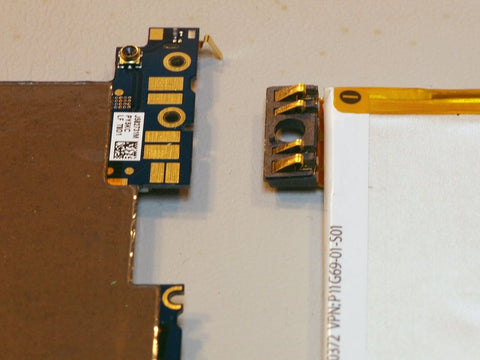
Step9


Dock and headphone connector.
The primary antenna is on the other side of this part.
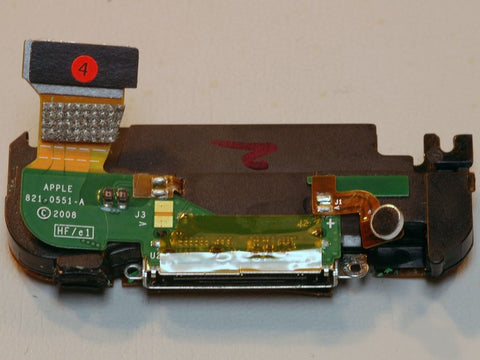
Step10


The rear panel remains.
Unlike the metal rear panel on the original iPhone, the rear panel appears to be made from ABS plastic. The coat on the back feels nice and is very reflective, hopefully it's durable as well.
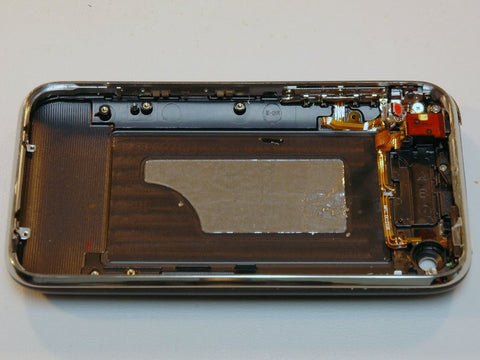
Step11


The battery.Put your soldering irons away, they won't be needed!
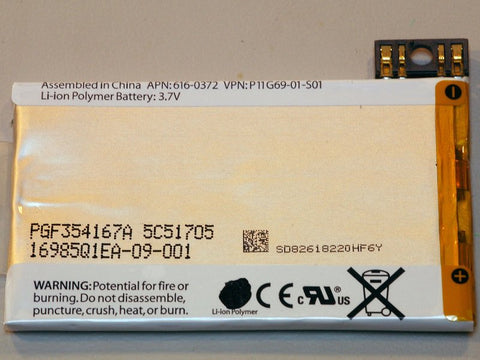
Step12


From top left to bottom right: Display glass, LCD, Main board and EMI shield, Antenna and battery, Back panel.
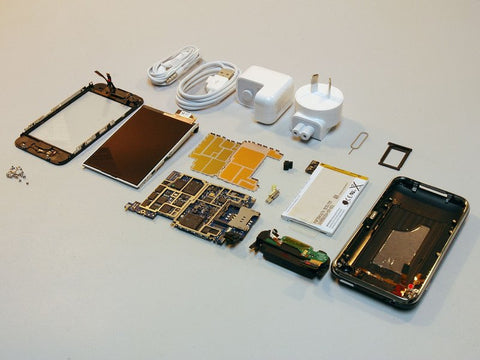
Step13

Now you're almost finished the teardown process, what you need do is to paste the above components on the iPhone layout paper. If you are using B6000 glue, you need to place it horizontally for 2-24 hours before framing the disassembled phone.


Tags: how to diy, iphone teardown
Previous
Original iPhone teardown and framing tutorial
Next
How do we tear down iPhone 1st to be a tech-style iPhone frame?

Related Articles

10 Best geek gifts list for your friend(2022).

10 Best geek gifts list for your friend(2022).

The First-Generation Apple Watch: A Look Back at the Original Wearable

The First-Generation Apple Watch: A Look Back at the Original Wearable

Gameboy Advance —— A Nostalgic Trip Down Gaming Memory Lane

Gameboy Advance —— A Nostalgic Trip Down Gaming Memory Lane

iPhone 6: Not just a smartphone, also an art piece

iPhone 6: Not just a smartphone, also an art piece

Leave a Comment

Your email address will not be published.

Tags

  • 3d framed art
  • apple
  • Apple museum
  • applefan
  • apply story
  • Black Friday
  • boyfriend gift
  • Christmas Gift
  • Creative Gift Ideas
  • desk seuup
  • development of iPhone
  • environmental protection
  • Father's Day Gift
  • father's day gift idea
  • first iphone
  • frame artwork
  • framed iphone
  • Gameboy
  • gameboy color frame
  • gameboy console
  • geek gift
  • gemini
  • grid frame
  • grid iphone
  • home decoration
  • how to diy
  • iPhone
  • iPhone 2G generation
  • iphone 3gs
  • iPhone 4
  • iPhone 4s tear down
  • iphone art
  • iphone frame
  • iPhone Framed Artwork
  • iPhone history
  • iphone shadowbox
  • iphone teardown
  • iphone teardown template
  • iPhone13
  • iPhone14
  • iPhone3GS template
  • iPhone4 template
  • iPhone5 template
  • iPhone6 template
  • knolling iphone
  • macbook keyboard
  • nintendo
  • Nokia E17
  • nostalgia gift
  • office setup idea
  • retro home decor
  • Retro Phone Art Work
  • tech news
  • The histry of Jobs Steve
  • unique birthday gift
  • vintage decoaration
  • wall decor
  • work sapce decoration
  • Xreart iPhone frame

Shop by collections

APPLE Phone 16

Game Console 12

Gift for Geek 21

DIY 16

Subscribe & get extra coupon

Sign up for our newsletter and receive 10% off your first order.

Programs

  • Become a Dealer
  • Become an Affiliate

DIY

  • DIY Tools
  • Free Template Download
  • How to DIY
  • How to teardown

Service

  • Contact Us
  • FAQs
  • How to teardown
  • Shipping Policy
  • Returns and Refund Policy
  • Privacy Policy
  • Terms of Service

Follow Xreart

support@xreart.com
© XreArt 2024. All Rights Reserved.
English
Payment options:
  • American Express
  • Apple Pay
  • Google Pay
  • Mastercard
  • PayPal
  • Shop Pay
  • Union Pay
  • Visa

Shopping Cart

Your cart is currently empty.
Add note for seller
Estimate shipping rates
Subtotal $0.00
View Cart